|
|
|
|
|
|
|
|
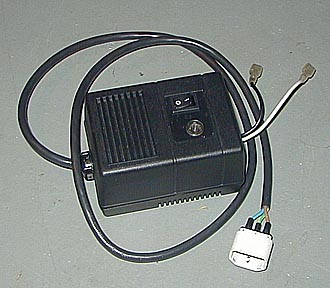
| I decided to automate my fog machine this year. Basically I recreated the remote control that came with the Fog machine but added a Cyclic timer to activate the fog. |
|
|
|
DISCLAIMER: Please note that these instructions are for information only and for this particular Fogger , other types may have different configurations for the operation of the remote. This remote utilizes 120Vac so proceed carefully and double check your connections before applying power to the unit . Proceed at your own risk. |
||
The controller consists of the following parts:
The only item that I actually purchased was the timer from Jameco for $22.95, p/n 147846. The other items were scavenged from bits an pieces collected over several years. Sometimes it pays to be a bit of a pack rat. |
|
|
|
|
||
|
|
The black and white leads on the left go to the 12V lead acid battery that powers the timer. The 3-conductor cord on the right attaches to the fogger. |
|
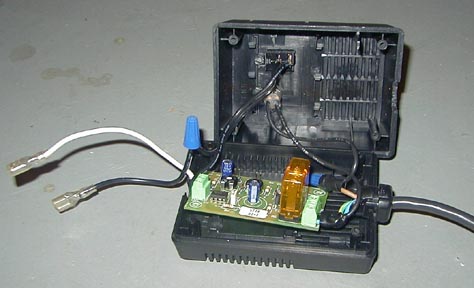
| The switch in my new remote does not activate the fog when pressed but instead, powers the cyclic timer. When the 12V is connected to the timer, the timer activates the relay thereby activating the fogger. It is important to properly connect the cord from the fogger to the relay on the timer pwb since this is 120Vac and hazardous. | ||
|
An alternative method would be to open the original controller and
replace the momentary switch with the timer. You would connect the leads
going to the switch to the "Common" and the "N.O."
(normally open) terminals as indicated in the instructions for the
timer. When power is applied to the timer it will cycle according to how
you set the 2 poteniometers.
|
||